Put your students "into" their Wixie projects
Students love to be a part of the action! Imagine sharing information as an animal, transporting yourself back in time, or exploring a faraway culture.
Capture their photo and use the new remove background feature to really get them into a range of digital classroom projects.
Capture the image
Technology has improved and you no longer need a green screen to remove a background from a photo. It is still helpful to wear clothing that contrasts with the background.
Before you begin taking pictures, have students think about how they should pose for the scene they want to create. For example:
- Have they just climbed to the top of mountain?
- Are they sitting in a chair?
- Swimming underwater?
- Running a race?
Removing a background in Wixie
Step 1 - Add the image
Use the Image button in Wixie or capture the image. If your device is portable, you can simply use the Image dialog's Camera tab to capture the picture. If you have taken pictures with a different device, move them to the device you are using and choose the Image dialog's My Computer tab to find and add the picture.
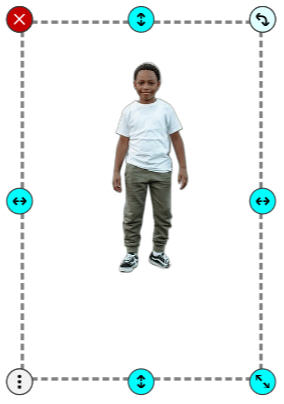
Step 2 - Remove the background
Adding an image to Wixie makes it an object.
While the object is still selected, go to the options panel and select the filter to hide the background in the image.

The background will no longer show.
Step 3 - Add your background image
Select the Arrow tool and the Page Picture button to find and add a new image behind the photo.
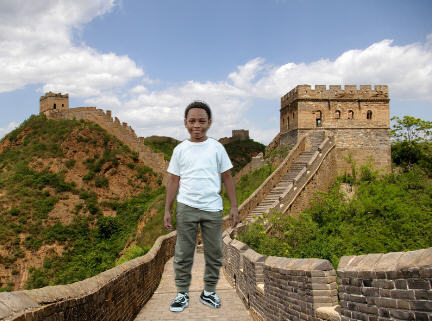
You can even add path animation to the image.
So many possibilities
Using the remove background option to put students into their projects helps them connect more personally to the content they are studying.
With their image on screen, students take additional pride in sharing high-quality information and opinions. For example, you might include their image on a book review or as the reviewer in a movie-style book trailer. Taking on the persona of a person from history or the animal they are learning about moves "being an expert" to a whole different level.
Use this process to have students become:
- explorers in a different time or place.
- protagonists in their own story.
- tour guides at historical sites.
- part of personalized greetings.
- comic book heroes.
No matter what you choose, including photos of your students, makes them a truly integral part of their project content.
Enjoy the journey!
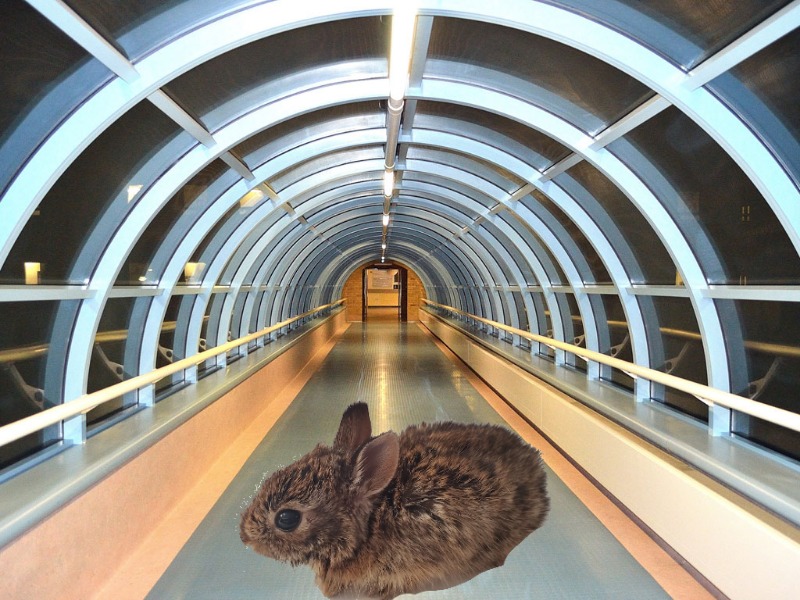
PS: Expand this idea beyond student images too. Grab a stuffed animal, your class pet, or a student-created robot, and explore the world through their eyes, too!
 Effective Integration
 Instructional Design
 Learning Strategies
 Literacy
 Month-by-Month
 Product Ideas
 STEM/STEAM
 Share and Showcase
 Updates
 User Management