You can make your painted artwork speak by turning it into a talkie.
Use the paint tools to create your artwork.
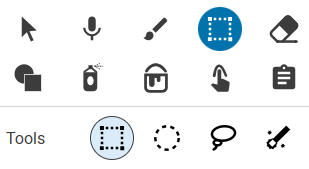
Choose the Selection tool on the tools panel.
Select a box around the image you want to have speak.
Hint: Select the entire object. Wixie will turn the painted artwork into an object (sticker), so if you select the entire object, you can easily copy and paste it to other pages in the project and it will still be a talkie!
Choose the talkie button on the editing panel.
At the Create a New Mouth dialog, you will see handles for a mouth stretching across the image.
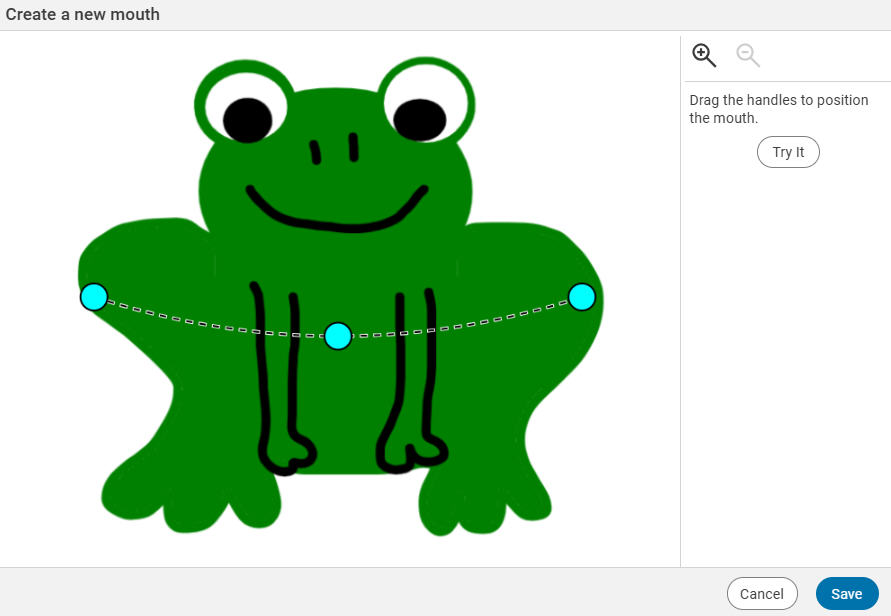
Drag the handles to create a mouth in the location you want it to be on the image.
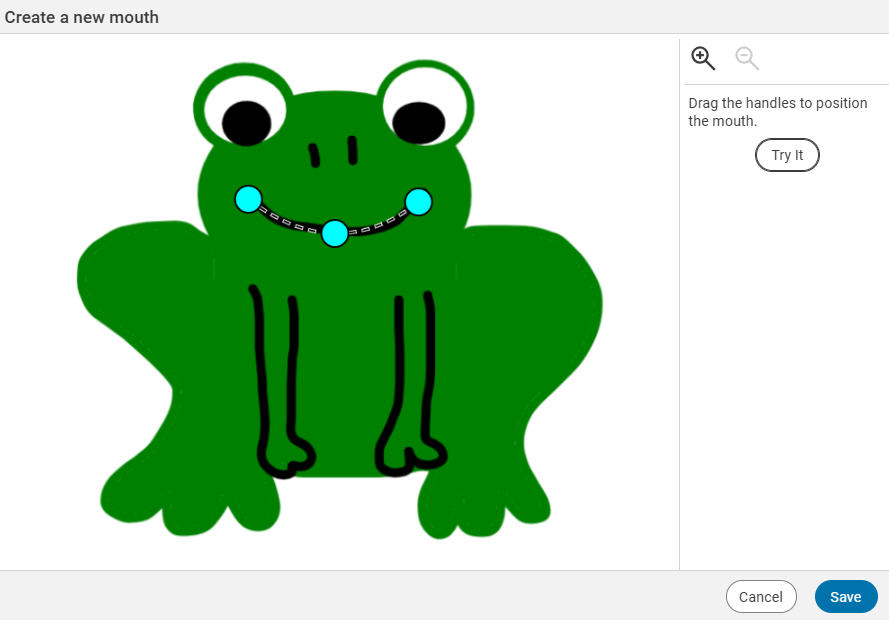
You do not need to have a mouth on the painting. Simply move the handles to where you want the mouth to be on the painting.
Hint: Move the outside handles to the edges of the mouth first.
Select the Try It button to see how it looks.
Edit the position of the handles if necessary.
Select the Save button when you are done.
You will see the talkie on the page.
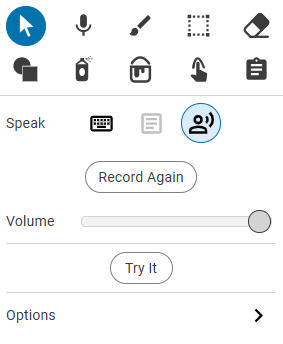
The editing panel will now show talkie options so you can choose how this sticker will speak (typed text, text object contents, or voice recording).
Note: A talkie doesn't have to have a traditional mouth drawn on it. For example, you can personify the Liberty bell by turning it into a talkie!
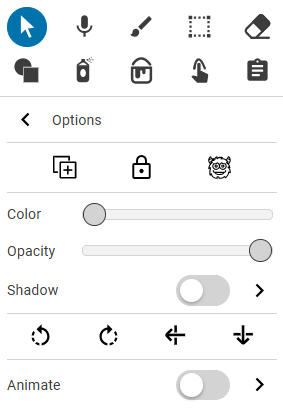
Edit talkie sticker
To adjust the mouth on your talkie, or other settings for the sticker, like animation or color, select the Options right arrow at the bottom of the editing panel. The editing panel will now show options to edit the mouth as well the color of the object and more.