You can add talking stickers to a page.
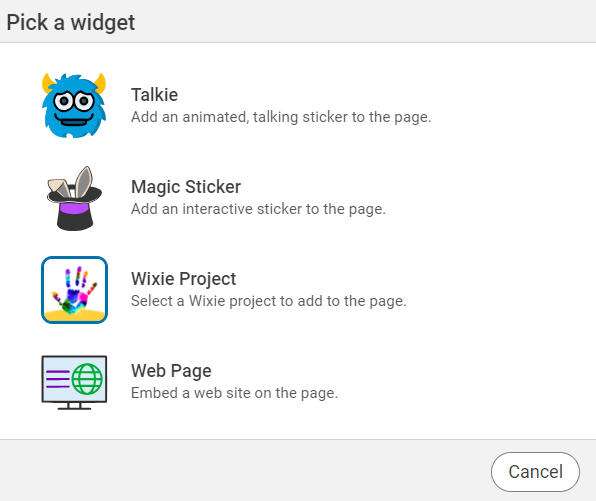
Select the Widgets button on the toolbar.

You will see the Widgets dialog.

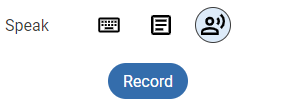
Use the Record button to capture your narration.
You will see the Widgets dialog.
Select the Talkie option.
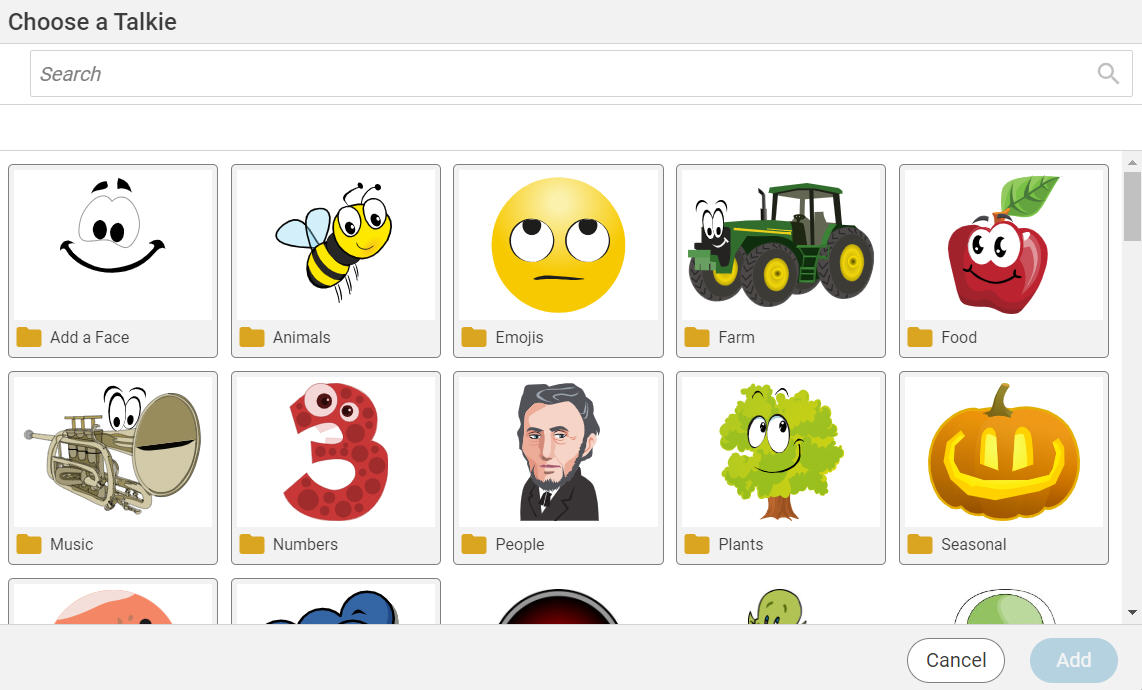
You will see the Choose a talkie dialog.
Select the talkie you want to use and click the Add button.
You will see the talkie on the page.
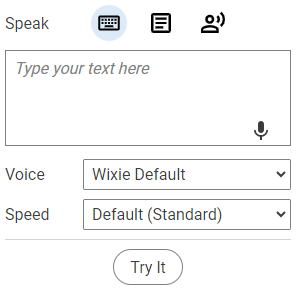
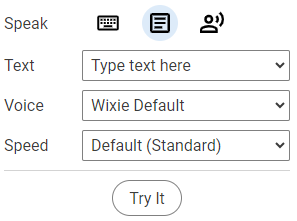
You can have this magic sticker speak text three different ways.
You can type text into the box in the options panel.
Use the Voice and speed pull-down menus to change how the computer voice sounds.
To have the talkie speak the contents of a text box on the page, select the Select a text box button above the text field.
Use the Text pull-down menu to choose which text box to speak.
To have the talkie use your voice, select the Record your voice button above the text field.
Use the Try It button to test out your talkie.
The talkie will speak in your voice if you have recorded or the computer voice you have selected. If a user doesn't have this voice installed, Wixie will use the default voice for that device.
When you show or share your project, click the talkie to hear it speak.
Playback of talkies
Users viewing talkies in the Wixie player will select the sound icon to hear and watch a talkie speak.
If you have multiple talkies on a page, Wixie will play them back in order top to bottom, left to right.
The playback depends on the location, or position, of the talkie, not the text object it might be connected to.
- If two or more talkies are aligned at the top, the talkies will be read left to right.
- If two or more talkies are aligned to the left, the talkies will be read top to bottom.
Hint: If you play back a page with multiple talkies and it doesn't read in the order you expect, return to editing and select both talkies. Click the Align>Top button on the editing panel so that the talkies read left to right. Now you can select each talkie and use the up or down arrow keys to ensure they are not at the same horizontal level.