Wixie Update: Mind Maps!
We are excited to announce the release of a new mind mapping tool in Wixie.
Mind mapping is a powerful way for students to visualize connections between ideas, organize information, and brainstorm effectively.
In both Wixie’s standard and primary interface, the new mind mapping tool makes it simple for students of all ages to showcase their thinking in a creative, flexible space.
How to access the mind map tool
There are two ways to start a new mind map.
Use the New button and choose Mind Map to start a new, blank mind map.

You and your students can also click the Mind Maps button on the project prompts at the top of your Wixie home page.

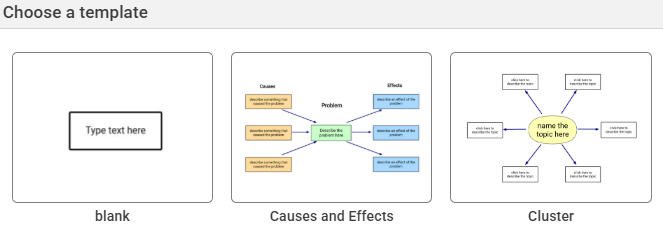
Then, choose one of the templates or a blank (one idea) to start.
How the mind map tool works
Most of the features and options in the mind mapping tool function the same, so many of the Wixie skills your students already know will transfer immediately to the new mind mapping tool.
Mind maps have a grid on the background by default. This is to help you know when students are working in this part of Wixie.
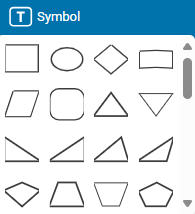
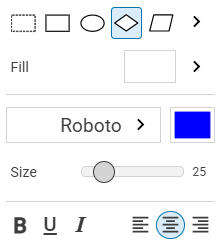
Use the Symbol button on the toolbar to show ideas and information using a combination of shapes, colors, and text.
The mind mapping tool has the same image, video, and widget buttons.
The options for each of these objects is hidden by default so that you have more room to work with your mind map. To see the options for any object, select the object, and then click the Options button on the tool palette.

For example, when you select a symbol, you can use the options to adjust the shape, color, and text style as well as link this object to a URL.
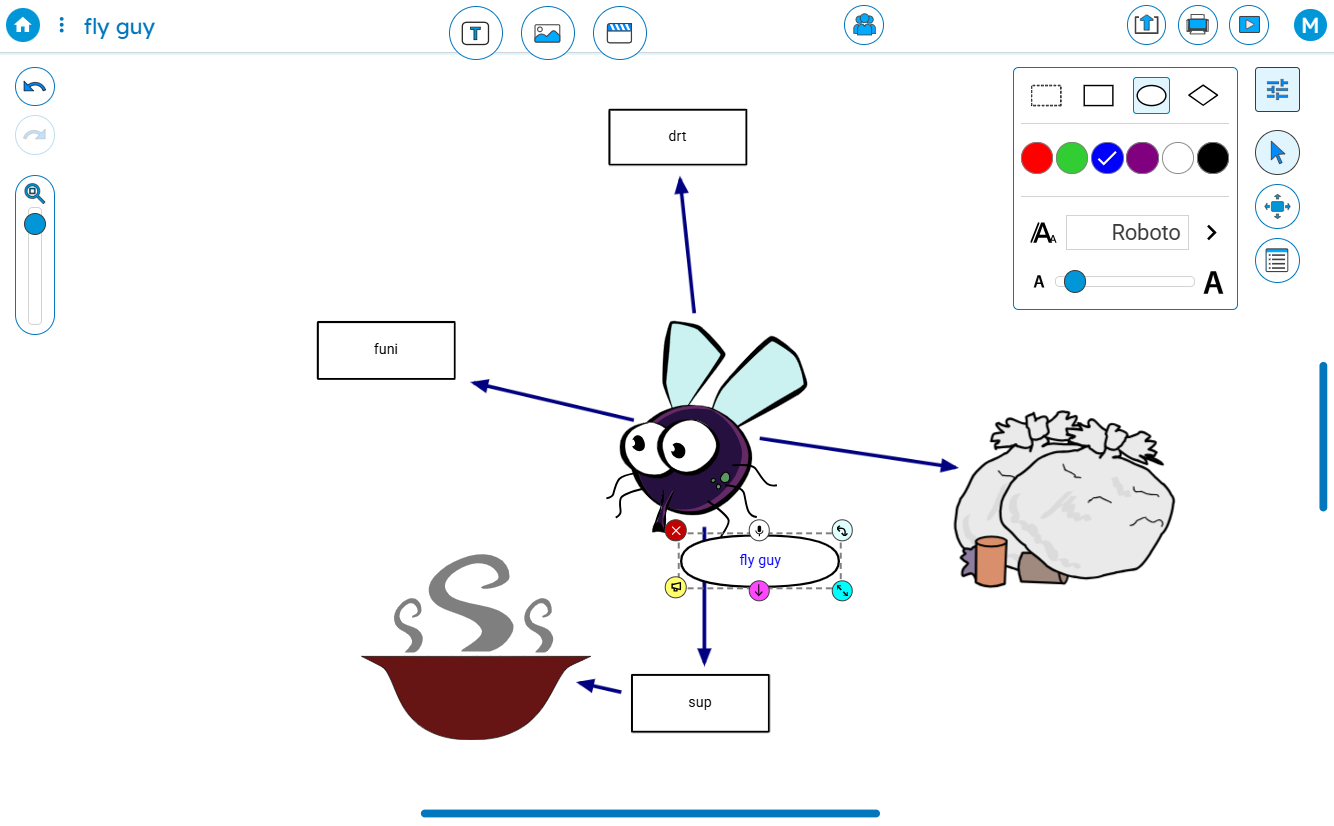
The mind map tool also lets you add connections between ideas.
To add a connection, select the symbol, image, video, talkie, or widget. At the bottom, you will see a pink circle with a down arrow. Click and drag from this arrow to the middle of the symbol you want to connect.
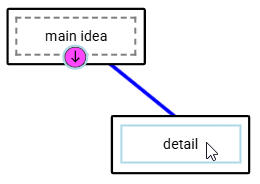
When you release you will see an arrow pointing from the first object to the second.
The canvas for a mind map is infinite, so you can add as many ideas and connections as you want. Use the Pan tool to more easily drag the mind map around.

If you print your mind map, the entire map is scaled to fit on one sheet of paper!
Mind maps in the classroom
You and your students can use the mind mapping tools for a wide range of learning goals.
From demonstrating understanding, to collecting research and pre-writing, mind maps are a great way to organize information.
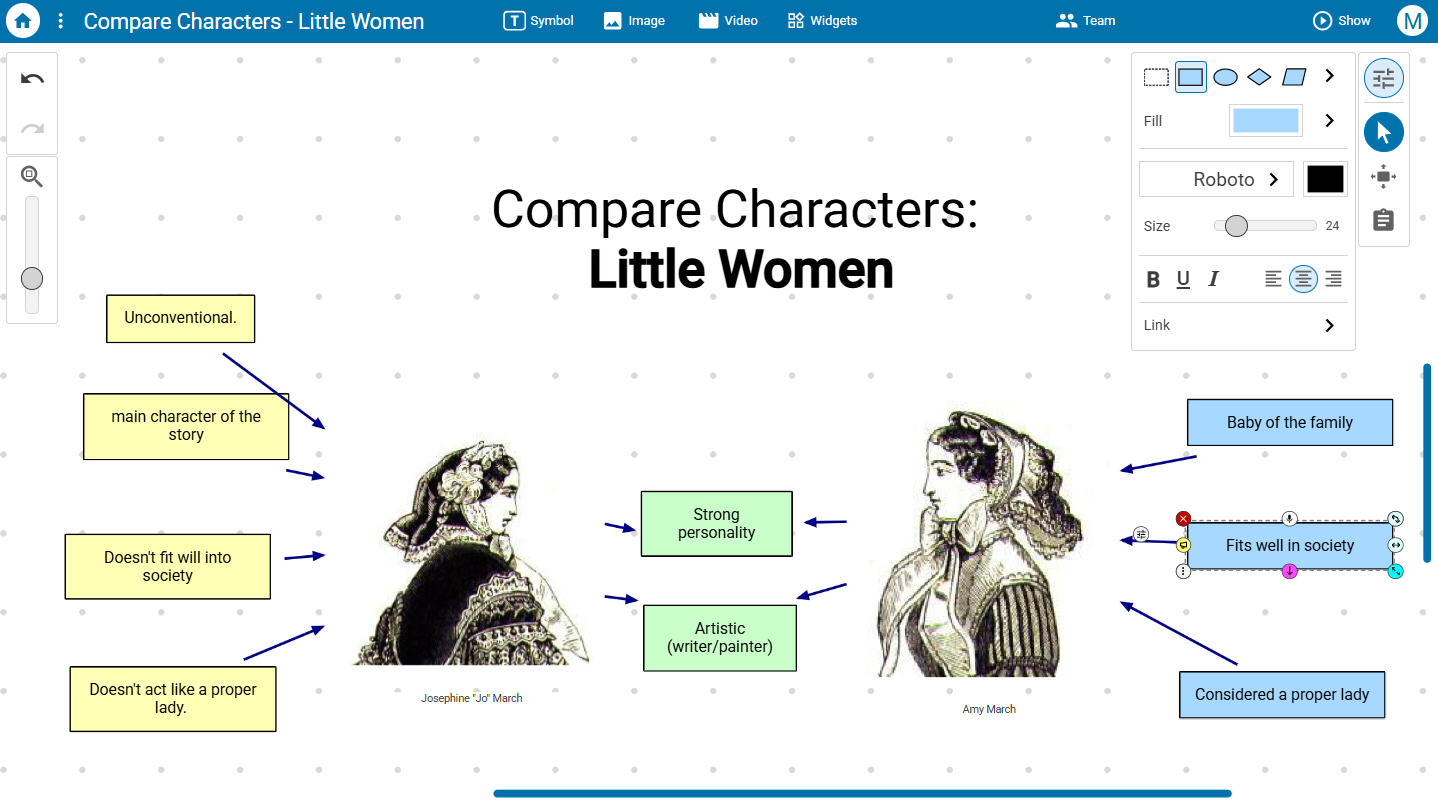
Use the mind map tool to have students outline a science cycle, compare characters, or show historical events on a timeline.
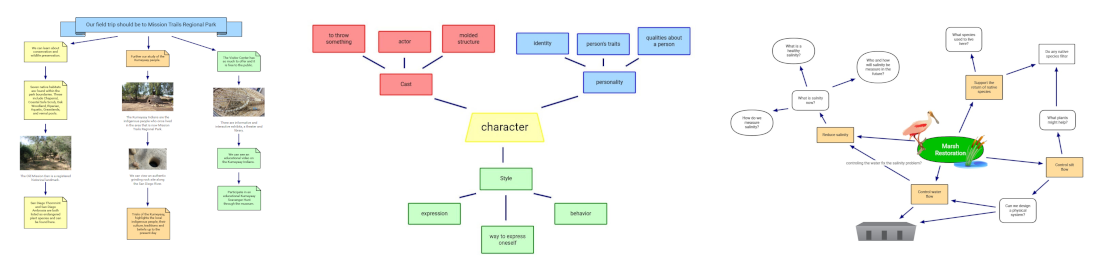
Older students can use the mind map tool for whiteboarding and planning. First, add symbols to brainstorm new ideas. Then, move them into groups, color them, and add connections to show how they are related.
We can't wait to see the mind map windows into your students thinking!
 Effective Integration
 Instructional Design
 Learning Strategies
 Literacy
 Month-by-Month
 Product Ideas
 STEM/STEAM
 Share and Showcase
 Updates
 User Management