Get students thinking with graphic organizers
Graphic organizers are an excellent tool for helping students organize their thinking. Graphic organizers combine text and visuals to show connections between ideas, making large amounts of information easier to understand.
While students can draw circles and connections on paper, technology makes it much easier to rearrange, edit, and identify new connections. Wixie includes templates for specific types of graphic organizers like Venn diagrams and T-charts, as well as images and paint options students can use to create their own organizers from scratch.
Step 1: Model and lead
If students are new to graphic organizers, begin by modeling how to use them to organize ideas. For example, open a graphic organizer at your teacher presentation station and work together to recall facts and details from an informational text you read or video you watched. You could also open a Venn diagram to compare the details of two different stories you have read.
You can find existing graphic organizer templates by opening the Design Templates library at your teacher home page and browsing the Organizers folder. Use the Search field at the top to find a specific graphic organizer, like a cluster organizer.
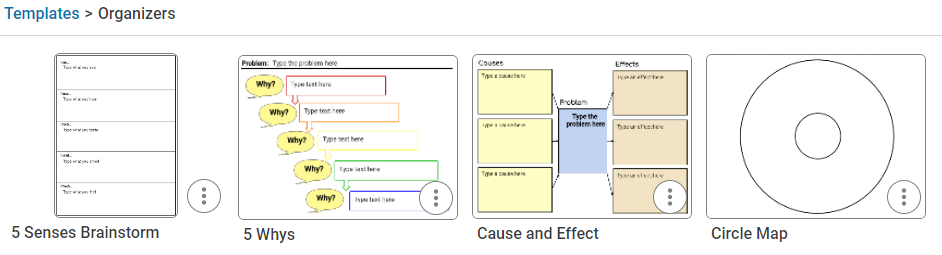
Once you have found a template, you can assign it directly to your students or select the Customize button on the toolbar to make changes to the instruction or content before assigning it to students.
Step 2: Transfer responsibility to students
Students will need direction as they begin to learn how to use graphic organizers, but if we want them to take charge of their own learning, we need to stop providing the templates for them and empower them to determine when and how to use them on their own!
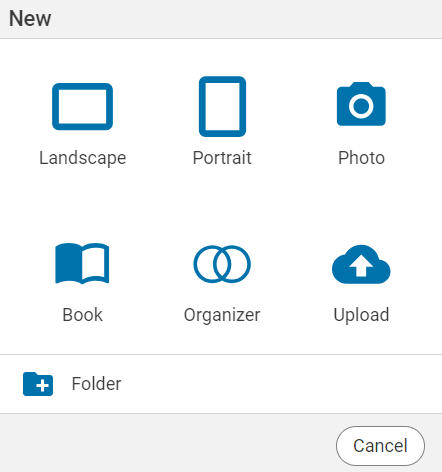
Students can use the New button and choose an organizer to begin working from a graphic organizer template.
Students simply select the template they want to use
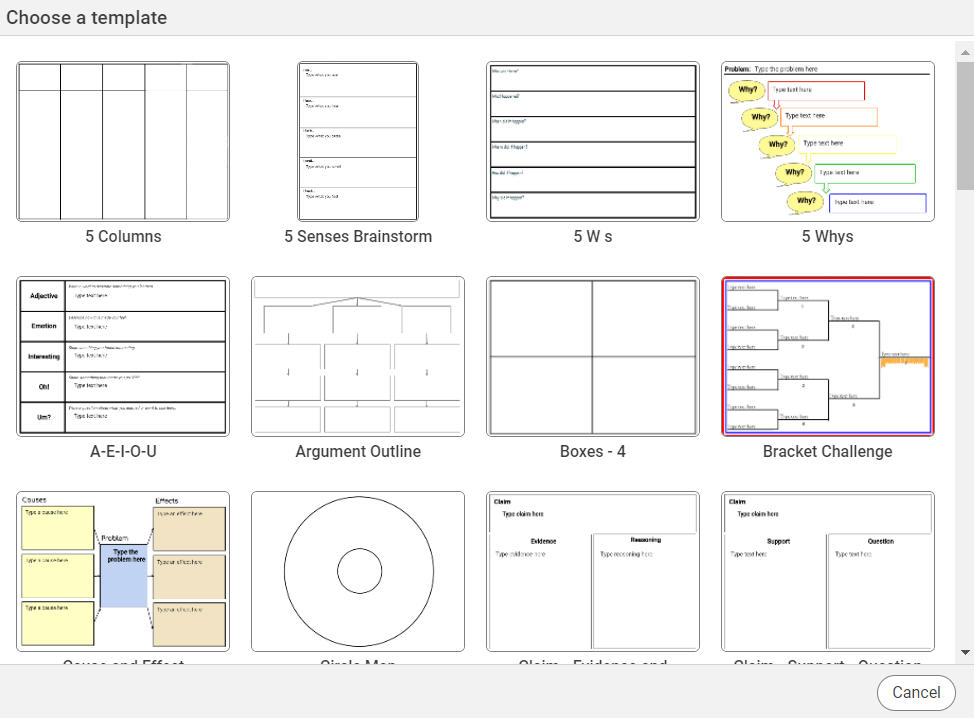
Once the template is open, they can add text, images, voice, and video to organize their ideas and information.
Step 3: Empower students to design custom organizers
As they get more sophisticated with using graphic organizers to sequence and sort information and visualize their thinking, students may want a more free-form or open organizer they can edit and adjust.
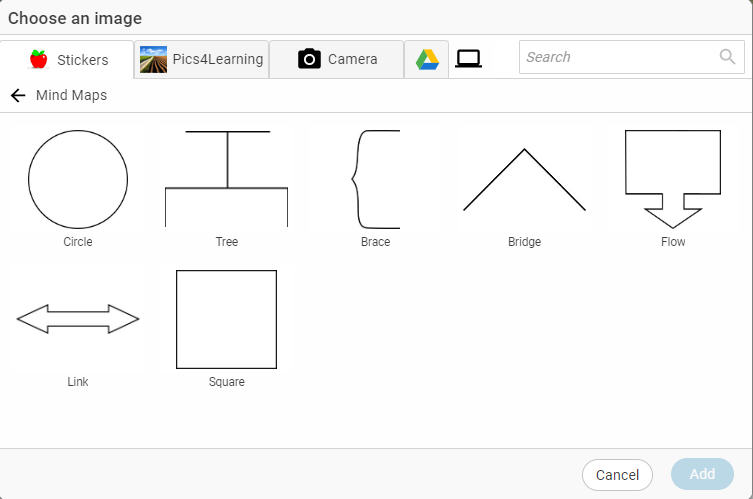
Encourage students to open a blank canvas and create their own graphic organizers using a combination of text objects, painted connections, and images. Students can also find a set of symbols by selecting the Image button on the toolbar and then navigating to the Mind Maps folder in the Stickers tab.
Students can use Wixie's tools to add individual ideas as text boxes and use the paint tools or stickers to show hierarchies or connections between them, making them useful products for student performance tasks to demonstrate understanding.
No matter where you or your students are in their use of graphic organizers, they are powerful tools to support thinking and comprehension. Having students build graphic organizers can help you continue your journey toward using graphic organizers for deeper thinking and content understanding as well as increased student agency.
 Effective Integration
 Instructional Design
 Learning Strategies
 Literacy
 Month-by-Month
 Product Ideas
 STEM/STEAM
 Share and Showcase
 Updates
 User Management